
|
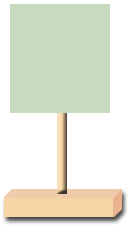
Directions: Stands 1. Cut 3 pieces of 1x2 about 2 1/2 inches long. 2. Cut 3 pieces of 1/4 inch dowel about 4 1/2 inches long. 3. Sand all the wood. 4. Drill a 1/4 inch hole in the middle of each lx2 base piece. 5. Glue the dowels into the base pieces.
Signs |
 |
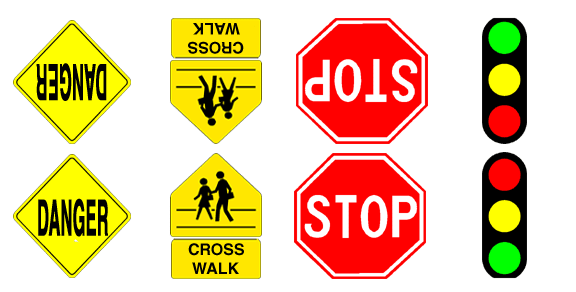
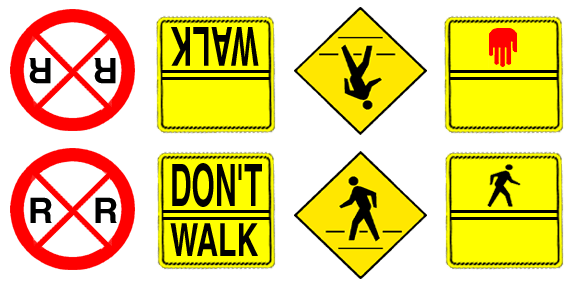
Read the signs to the children. Some have words and some only have symbols.
Play with them with your cars and motor mat. Talk to your children about safety. Ask them to pretend that they are walking in your neighborhood. Use a little action figure to show how they can be safe and watch for cars.
Look around your neighborhood for signs that your children should know.
Draw them and add them to your collection.
What is special about the shapes of signs?
List the names of the shapes.
Add your sign to the Motor Mat for more fun.
Signs Materials List
These were chosen for an urban setting; what signs are normal in your setting.
Combine this lesson plan with reading from the Drivers Instruction Handbook. There are many signs in it.
Make between 3 and 8 bases depending on time and resources. The sign pockets are interchangeable.
 |
 |
|
|
|
|||||||||
| ||||||||||